Silhouette Print & Cut with your own image
How to print your own image and cut round it with a Silhouette: page setup, registration marks, tracing, and fixes when the marks won't read or cuts are off.
By Ryan Soanes · Updated 14 November 2026
Print & Cut prints your design with registration marks near the corners of the page. The Silhouette reads those marks with its optic sensor, works out where the page is, and cuts round the design. Every Silhouette model has the sensor, and the free Basic Edition of Silhouette Studio can do it.
How do you set it up?
- Set the page size first. In the Page Setup panel, choose the paper you’ll print on, such as A4 or Letter. It must match the paper size in your printer’s settings.
- Turn on registration marks. In Silhouette Studio 4 they’re on a tab of the Page Setup panel. Silhouette Studio 5 has a separate Print & Cut panel.
- Add your image. Drag a PNG or JPG onto the page and size it.
- Make the cut line. Open the Trace panel, click Select Trace Area and drag a box round the image, then choose Trace Outer Edge.
- Keep everything out of the hatched areas round the marks. Ink there can be read as part of a mark.
- Print from Silhouette Studio, on the printer and paper size you chose in step 1.
- Load the sheet on the mat the same way round as it shows on screen.
- Send it to cut. In the Send panel, choose your material. The machine finds the marks, then cuts.
Don’t move anything on the page between printing and cutting.
How do you add a white border?
Select the traced cut line, open the Offset panel and click Offset. Set the distance to the width of border you want, then delete the original trace line so only the outer line cuts.
Which file works best?
A PNG with a transparent background, at the size you’ll print it and 300 dpi. Tracing follows the edge of the artwork cleanly when there’s nothing behind it. A JPG on a white background works if the design has a clear, dark edge.
How accurate is it?
Silhouette says Print & Cut has a margin of error of 1/16” (about 1.6 mm). A cut that’s off by less than that is normal. To hide it, give each design a white border, or use bleed so the colour carries on past the cut line.
Why won’t it read the registration marks?
Silhouette’s Print & Cut troubleshooting lists these causes:
- The marks didn’t print properly. Faint, cut-off or missing marks can’t be read. Check the page size and print quality.
- The mat setting is wrong. The cutting mat chosen in Silhouette Studio must match the mat you loaded, or none if you’re cutting without one.
- The sheet is loaded wrongly. Load it the same way round as on screen, lined up with the mat’s corner.
- The material is dark or hard to read. White matte paper reads most reliably.
- Poor light. Move the machine or the lamp so the sheet is evenly lit.
- Something is blocking the sensor.
- Old software. Update Silhouette Studio.
Why are the cuts in the wrong place?
If the marks read but the cuts are more than 1/16” off, Silhouette lists these causes:
- The printer’s page size doesn’t match the page size in Silhouette Studio.
- Part of the design is in the hatched area by a mark.
- The marks aren’t fully printed.
- Changed registration mark settings that don’t suit the sheet. Restore the defaults.
Only calibrate if every cut is off by the same distance in the same direction, and you’ve checked everything above. In the Send panel, right-click your machine and choose Calibration, print the test page on plain paper, and follow the steps on screen.
Can you open an SVG cut file?
Silhouette Studio’s Basic Edition opens DXF files but not SVG. To open an SVG you need Designer Edition or above. If your cut line comes from another app, export it as DXF for the Basic Edition.
Can you fit more stickers on a sheet?
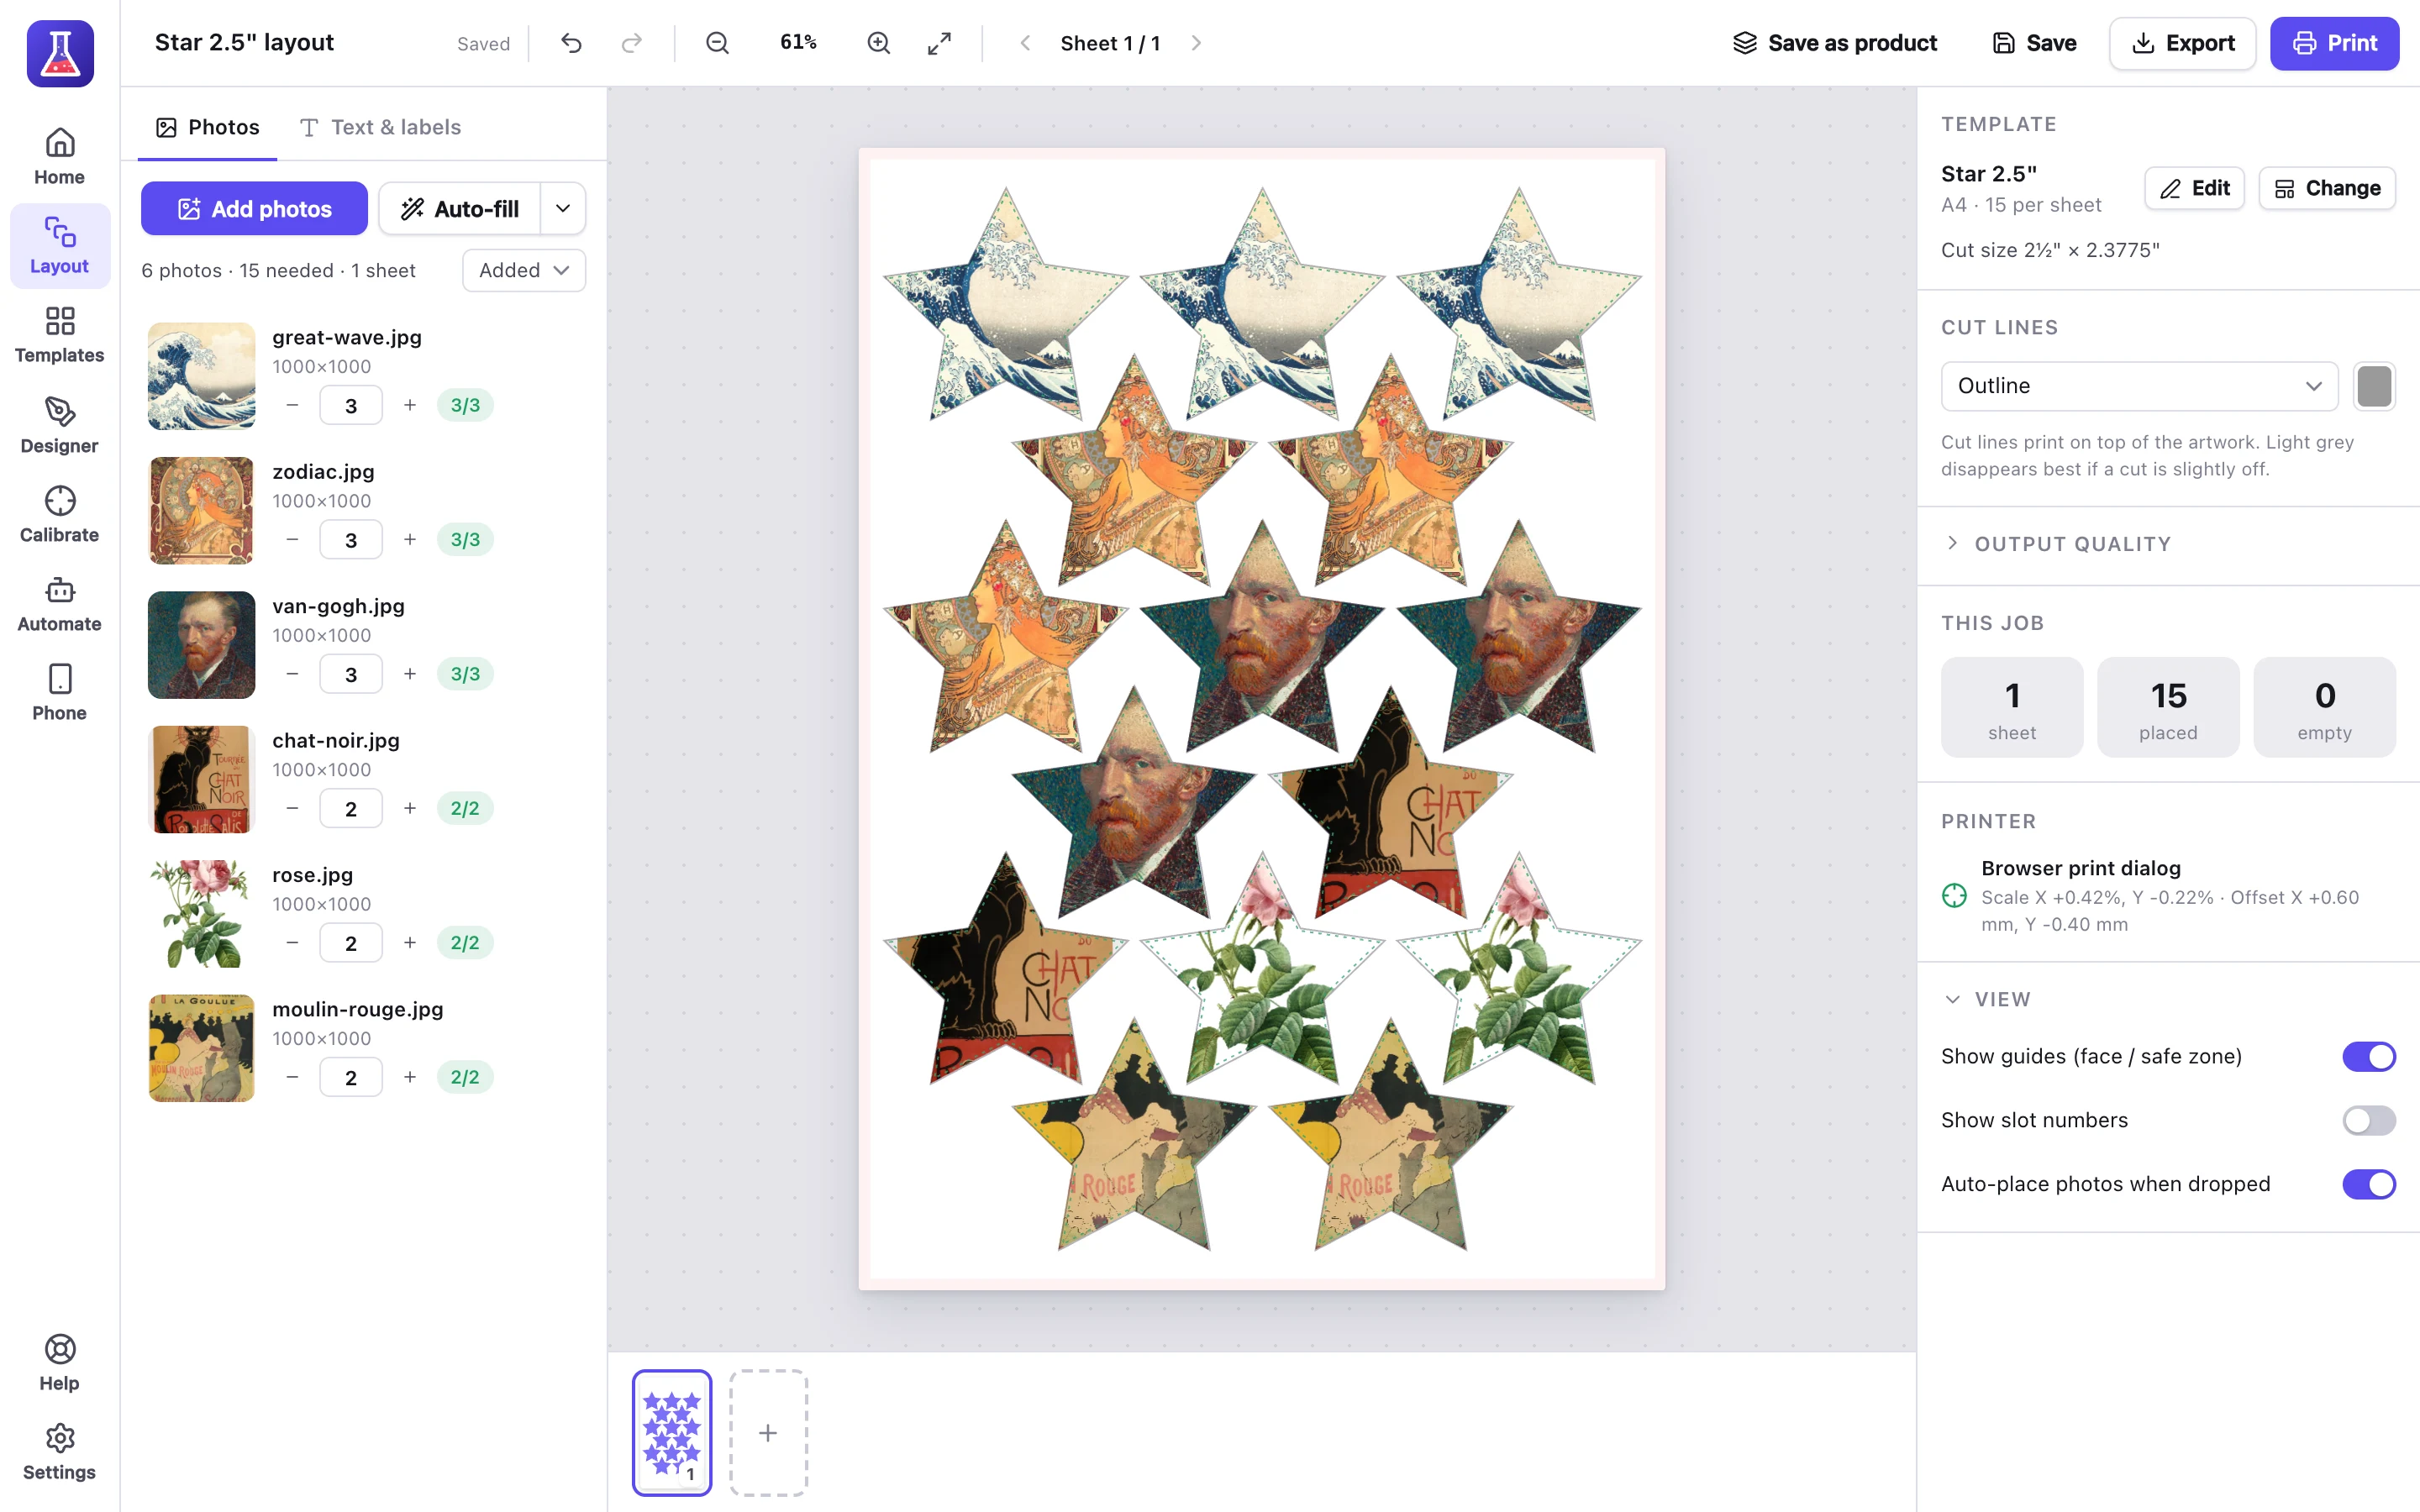
MagLab fills sticker sheets in one click: add your designs, say how many of each, and it draws a cut line round every one and packs them by their outlines, so more fit on each sheet. It prints Silhouette registration marks on the sheet and saves each sheet’s cut lines as SVG or DXF. In Silhouette Studio, turn on registration marks with the same inset, length and thickness, open the cut file and send it to cut.
For Cricut, see Cricut Print Then Cut with your own image.